Basic Setup
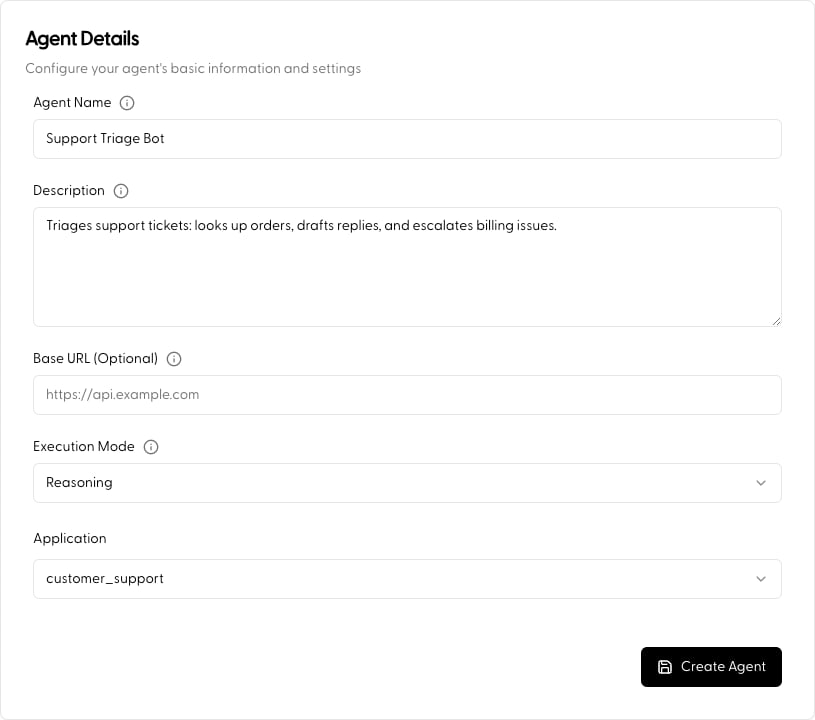
- Name & Description: Clearly identify the agent’s purpose. The description does double duty, it helps you organize, and it’s used as a routing signal whenever this agent is invoked as a sub-agent.
- Execution Mode: How the agent processes each request, Reasoning (full planning loop, the default) or Route (single-step capability selection). This is part of the agent’s identity, set here at build time; you can change it later from the agent’s Configuration tab, but not per-request. See Execution Mode.
- Application: Associate the agent with an Application. This determines which context documents are available and where the agent’s LLM traffic (including its flow steps) is monitored.
- Base URL (Optional): A default host applied to all of this agent’s API Actions, so individual actions only need relative paths. Actions can override it when needed.
Drafts, versions, and releases
Agents are versioned. Edits in the Portal land on the agent’s draft; when you’re happy with it, Publish creates an immutable version (major / minor / patch, with release notes). You can label versions with named releases likeprod and pin requests to a version or release from the SDK, unpinned requests run the current draft.
Manage versions from the agent’s Versions tab; see Agent Call for pinning from code.
Next
- Configure how it executes: Execution Mode
- Add tools/capabilities: LLM Action · API Action · Subagent
- Full walkthrough: Build an Agent
- Call your agent from code: Agent Call